Your ComfyUI, on mobile
Your ComfyUI.
Anywhere.
Build on Desktop. Create Anywhere.
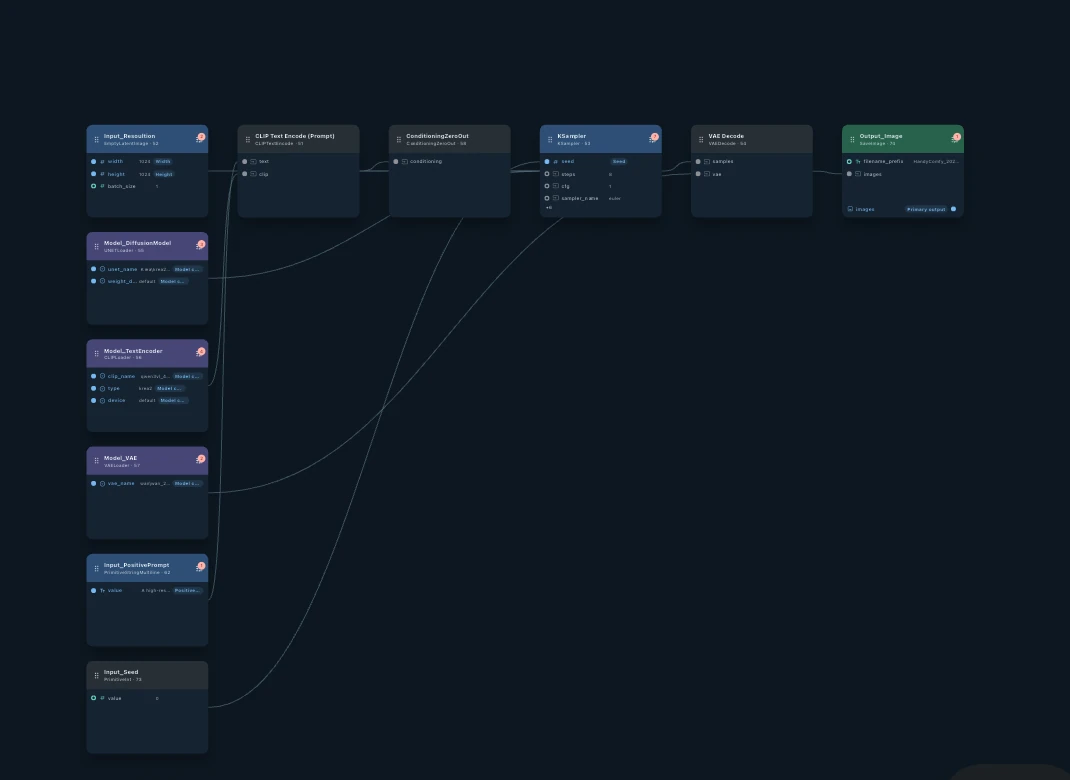
Build powerful workflows in ComfyUI, then use HandyComfy to run and control them from your phone or tablet. Generation stays on your connected ComfyUI system.
Designed for iOS and Android.
How it works
From workflow canvas to everyday tool.
HandyComfy keeps workflow building on desktop and makes repeated use simple wherever you are.
Build
ComfyUI Desktop
Create and configure your workflow in ComfyUI.
Connect
HandyComfy
Connect HandyComfy to the ComfyUI instance on your computer or server.
Create
Anywhere
Run your workflows from your phone or tablet.
Product walkthrough
See HandyComfy in action.
This walkthrough features an early version of the app, so some screens and details may differ from the current release.
Workflow Mode
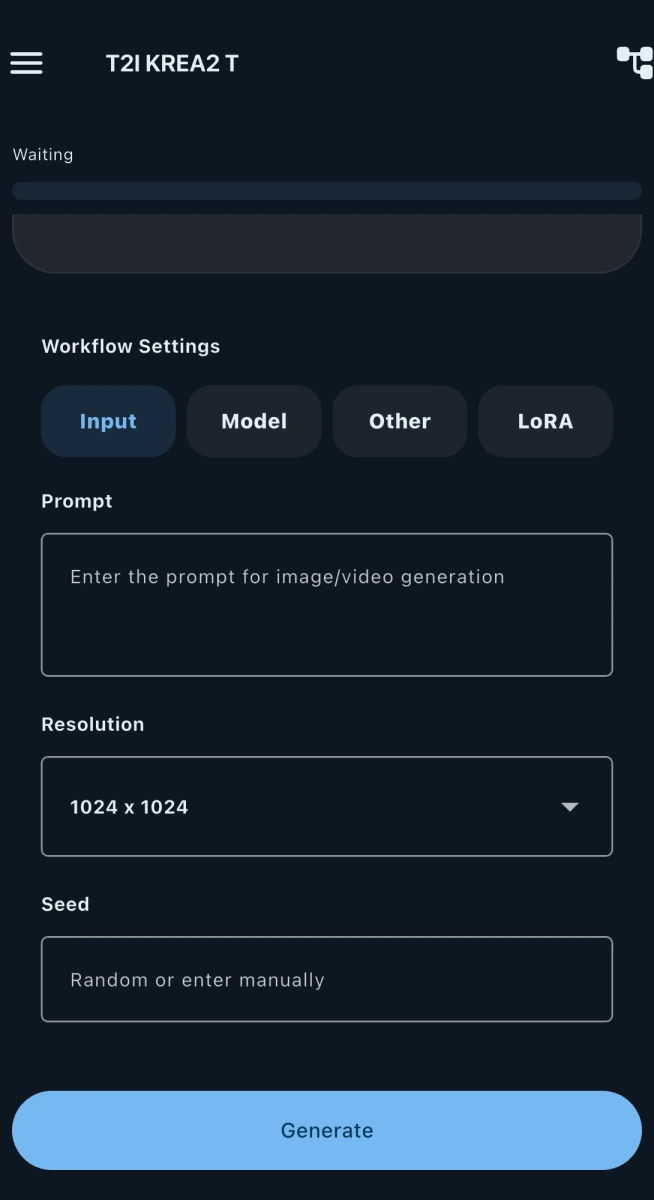
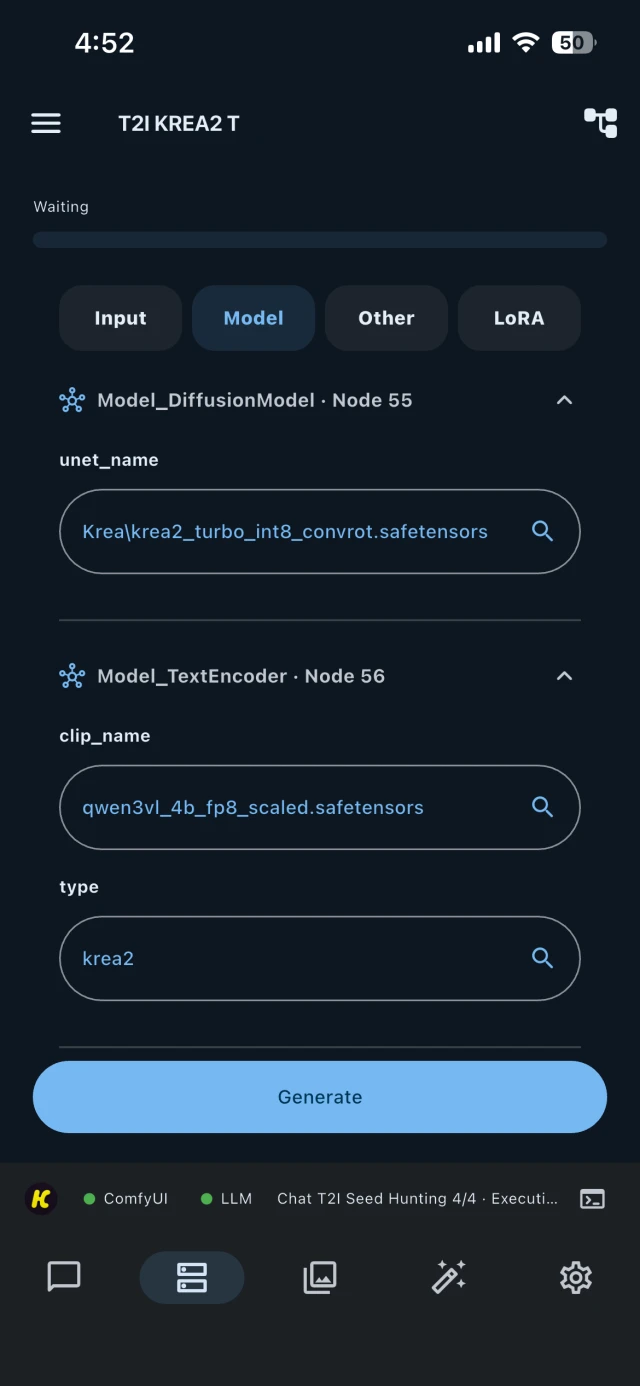
Turn a workflow into a tool.
Import a ComfyUI workflow, then expose the inputs you need as focused mobile controls. Adjust prompts, resolution, seed, models, LoRAs, images, duration, and other media without rebuilding the workflow on your phone.
- Prompt and media inputs
- Resolution and seed
- Models and LoRAs
Workflow Hub
Start with a workflow prepared for HandyComfy.
Browse and install curated workflows from the in-app Workflow Hub. Their Feature and node-role setup is already prepared, so you can move on to choosing the models available on your connected ComfyUI server.
Explore Workflow Hub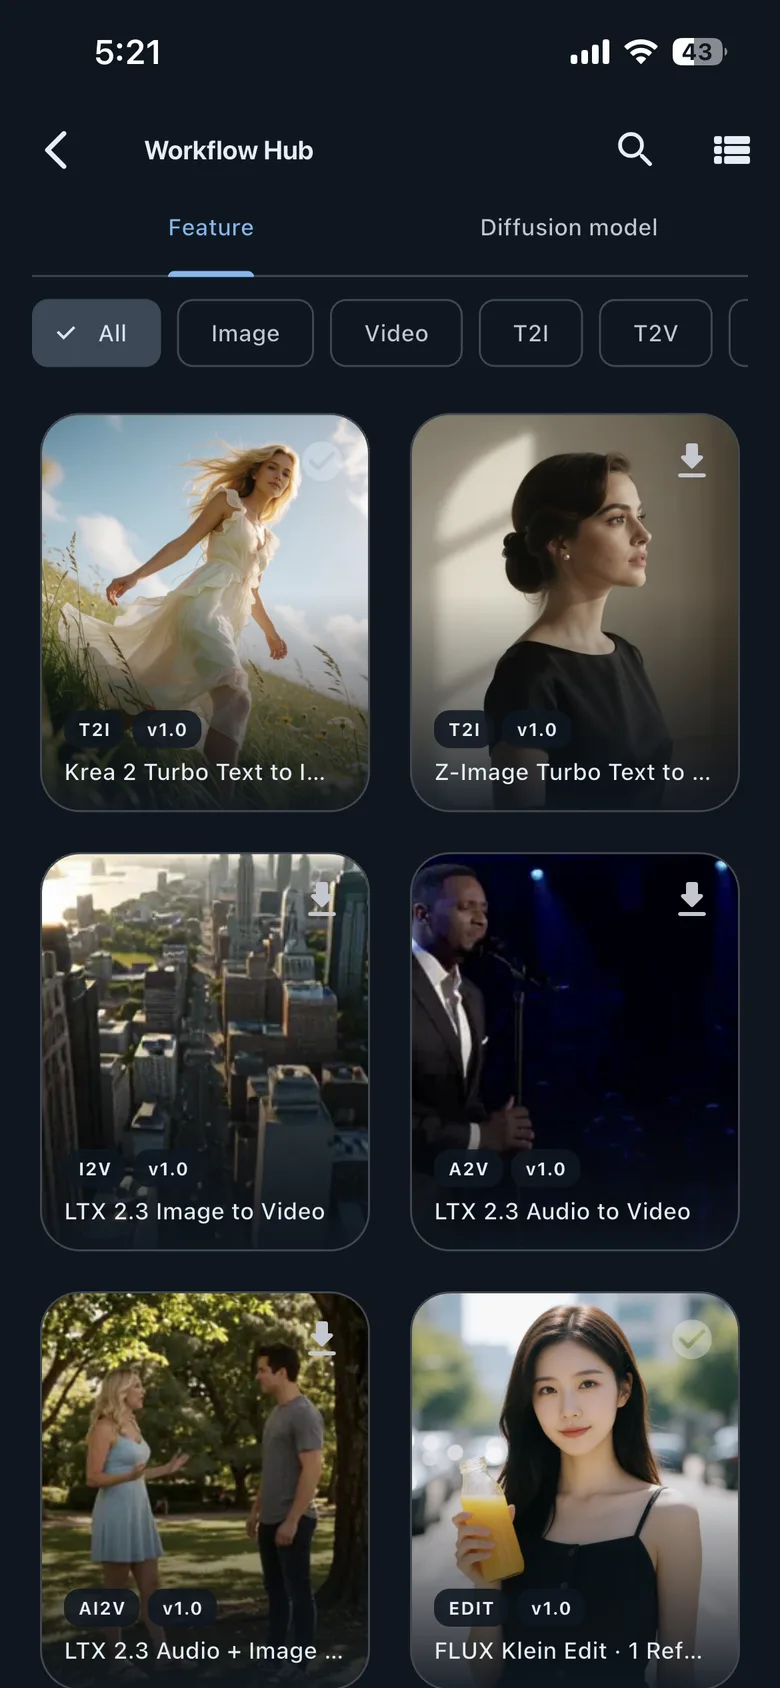
Chat Mode
Use workflows conversationally.
Chat Mode matches prompts and attachments to compatible configured workflows, while generation still runs through your connected ComfyUI instance.
Select another compatible workflow, enhance a prompt, or reuse a result—without moving workflow creation onto the phone.

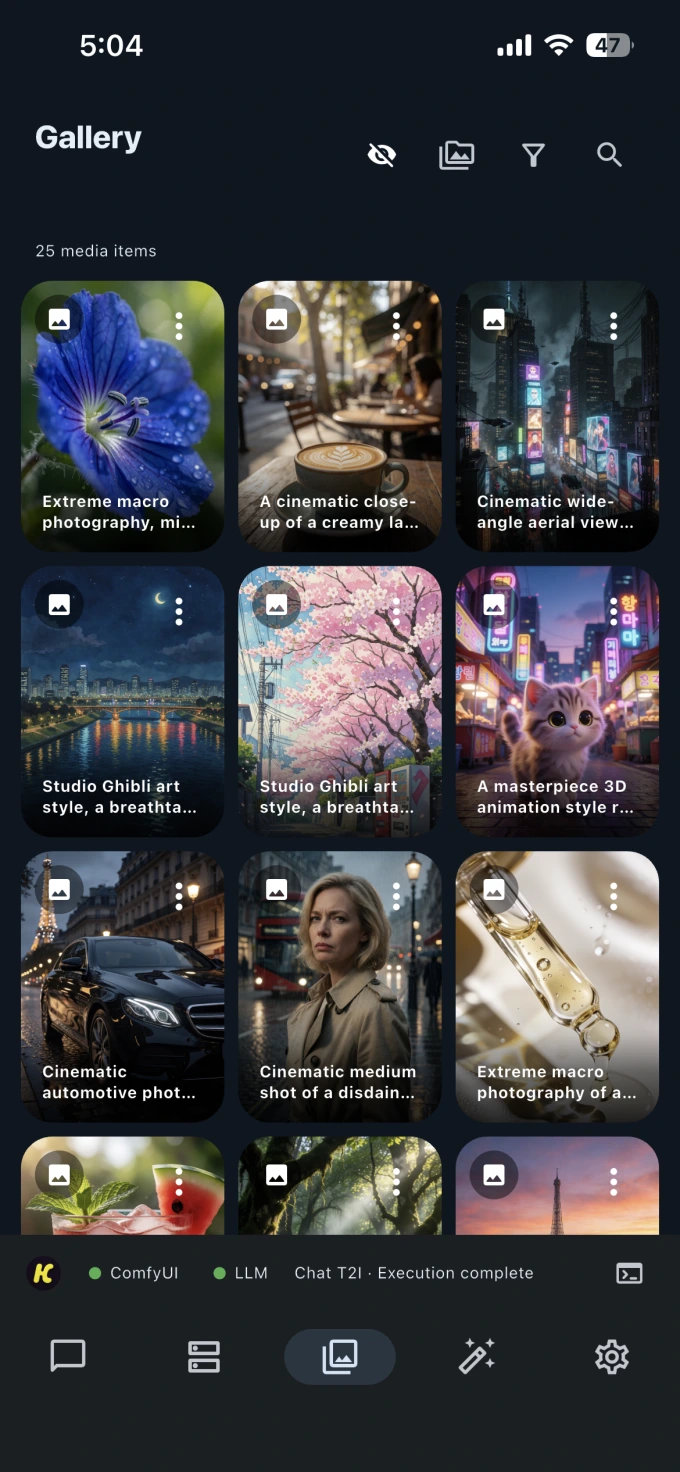
Gallery
Results stay close at hand.
Browse and manage the images and videos generated through your workflows. Gallery is part of the working loop, not an afterthought.
Your ComfyUI stays yours
Your system does the generating.
HandyComfy connects to the ComfyUI instance running on your computer or server. It is the mobile control layer—not a hosted GPU or cloud generation service.
Start with connection setupGetting started
From install to first run.
Three steps take HandyComfy from a new app to a useful mobile tool.
- 01
Install HandyComfy
Start with the app on your iOS or Android device.
- 02
Connect to ComfyUI
Point HandyComfy to the instance on your computer or server.
- 03
Run a workflow
Import a workflow, configure its controls, and create from mobile.
Documentation
Help for the task in front of you.
HandyComfy documentation is the canonical place for setup, workflow guidance, feature help, and troubleshooting.
Browse documentation- 01Setup & ConnectionInstall HandyComfy and connect to your ComfyUI system.
- 02WorkflowsImport workflows and configure the controls you need.
- 03Chat & FeaturesMatch inputs to workflows and reuse generated results.
- 04GalleryBrowse and manage generated images and videos.
Workflow resources
Examples to build from.
Download HandyComfy workflow examples and use them as a starting point for your own ComfyUI setup.
- Download JSON
Node Naming Convention
A ComfyUI workflow demonstrating node titles recognized by HandyComfy.
- Download JSON
T2I Example Workflow
A text-to-image workflow example. The file is provided through HandyComfy's Google Drive download.

HandyComfy for mobile
Bring your workflows with you.
Build in ComfyUI on desktop. Run through your connected system from your phone or tablet.