
This guide takes you through the shortest recommended path from opening HandyComfy for the first time to generating an image. It uses the included T2I workflow and does not cover other workflow import methods or advanced features.
HandyComfy controls the workflow from your phone or tablet. Your connected ComfyUI system performs the generation.
Before you begin
You need:
- HandyComfy on an iOS or Android device.
- A computer or server running ComfyUI.
- The models required by the T2I workflow installed in that ComfyUI environment.
- For this local setup, your mobile device and ComfyUI computer on the same network.
1. Install and open HandyComfy
Install HandyComfy from the App Store for iOS or Google Play for Android, then open it. On first launch, the app may show its built-in onboarding tutorial. You can follow that tutorial alongside this guide.
You do not need to configure every HandyComfy feature before creating your first image.
2. Connect to ComfyUI
In HandyComfy:
- Open Settings.
- Select Server Management.
- Open the ComfyUI section.
- Configure your ComfyUI server.
- Check the system status area at the bottom of the app. Continue only when the dot beside ComfyUI is green.
Settings · connection status
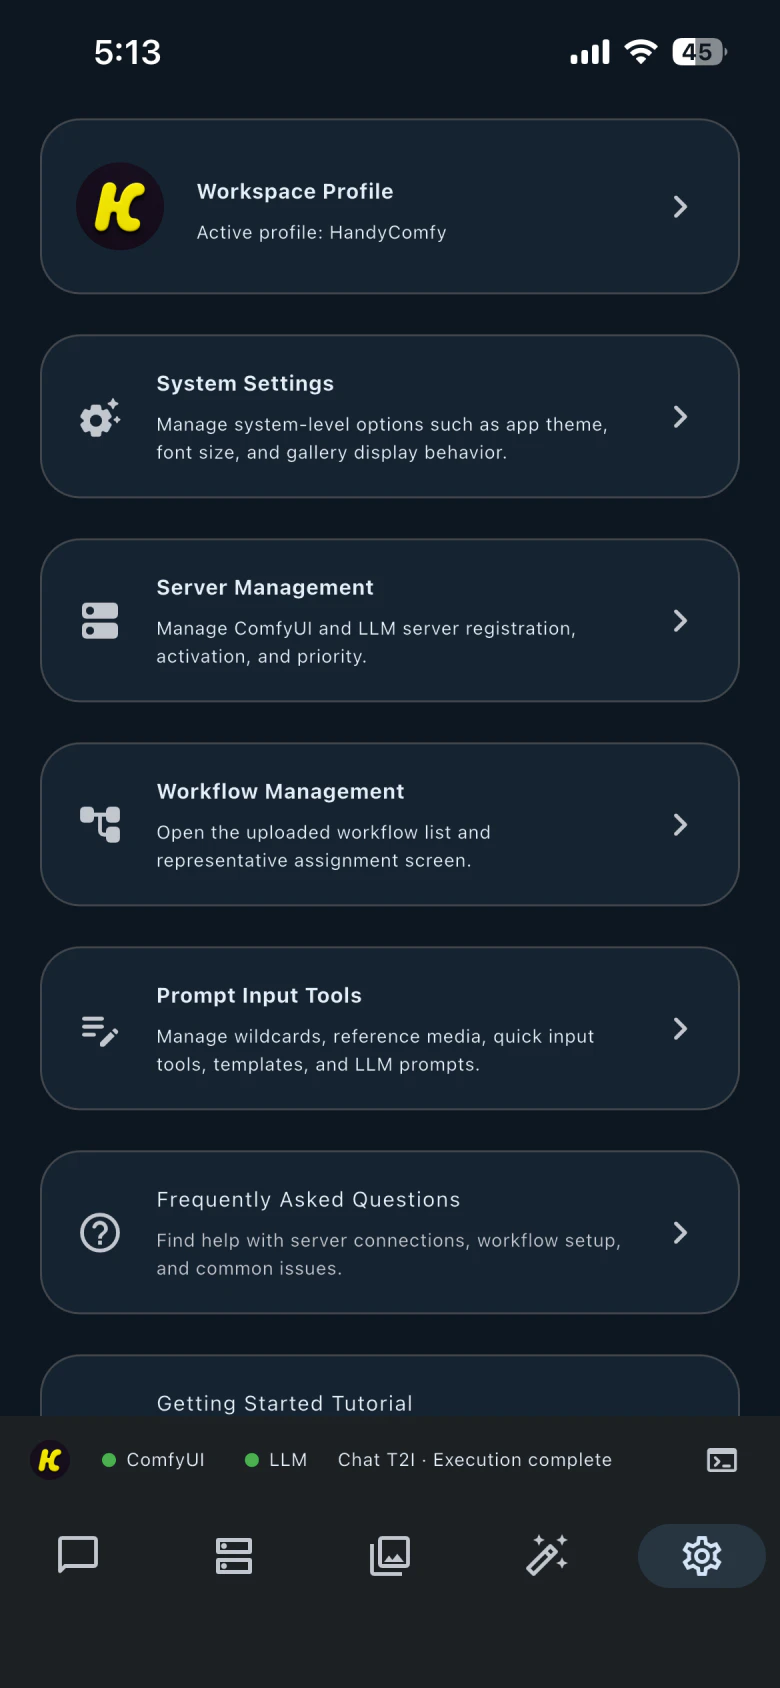
For server addresses, connection testing, local networking, or remote access, follow the detailed Connect to ComfyUI guide under Setup & Connection. Do not continue until the indicator is green.
3. Select the T2I workflow
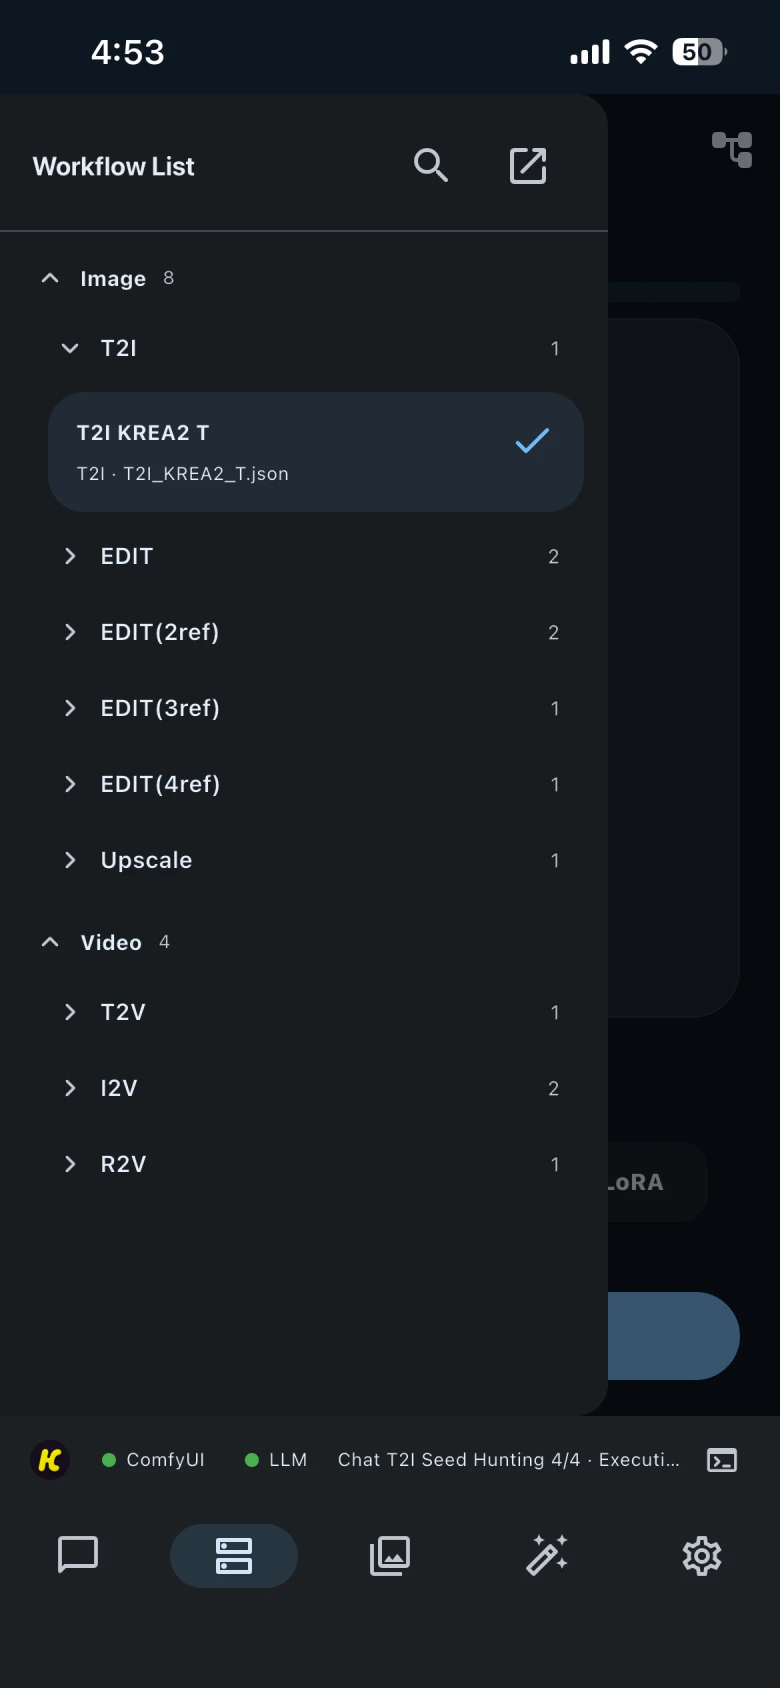
- Open the Workflow tab.
- Open the hamburger menu on the left.
- In the workflow list, select T2I.
T2I is the recommended workflow for this guide because it generates an image from a text prompt.
Workflow · T2I selection
4. Choose the workflow models
With T2I selected:
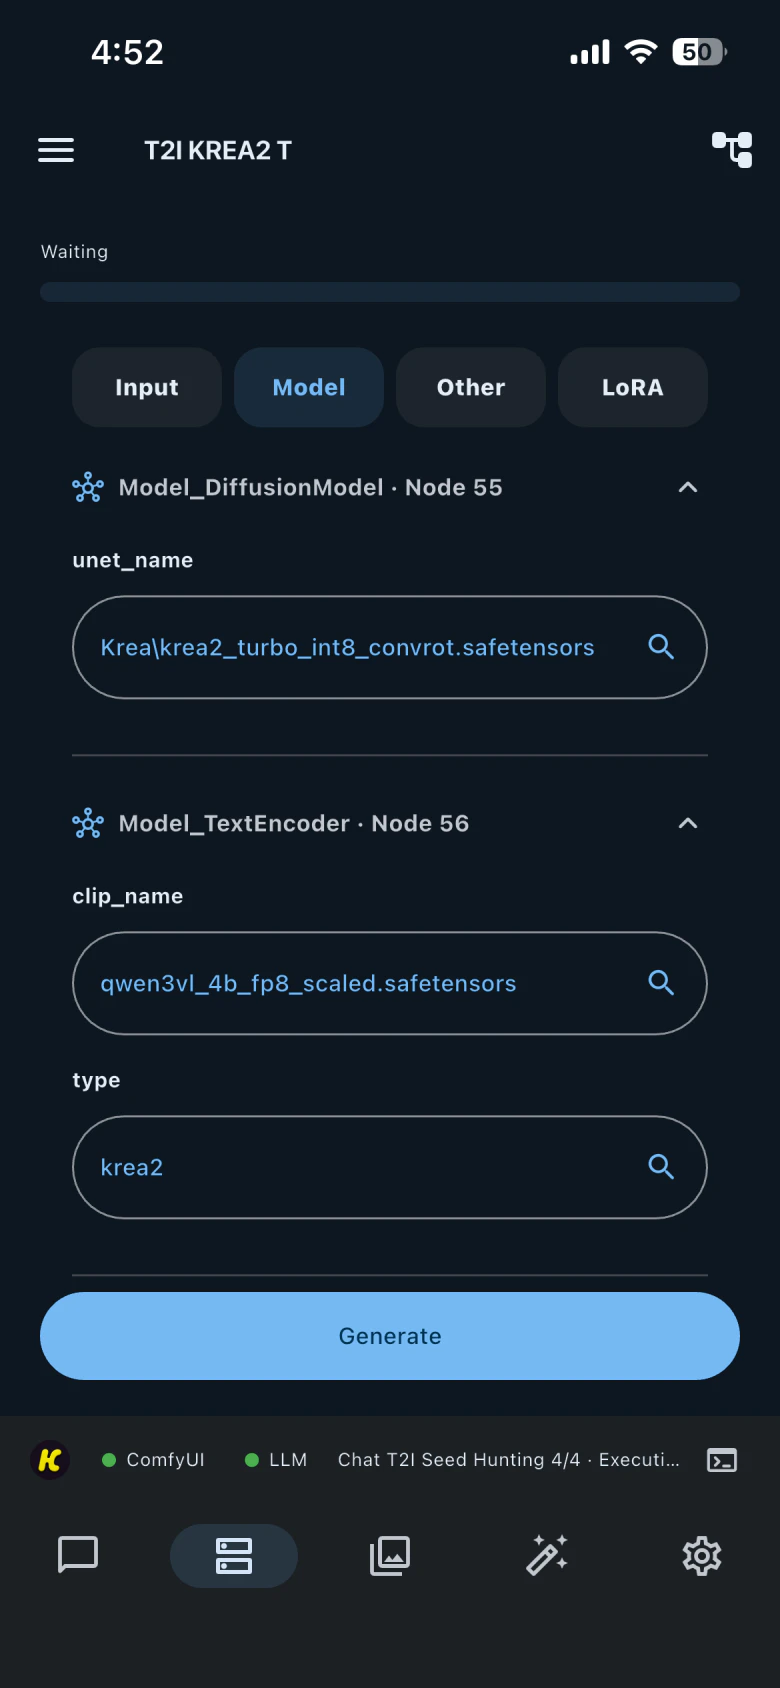
- Open the Model tab in the workflow.
- Choose an available model for every required field.
Depending on the workflow, required fields may include a diffusion model, text encoder, VAE, or another model component. You do not need to understand every model type for this first run; make sure each required field has an appropriate available selection.
Workflow · Model
5. Enter a prompt in Chat
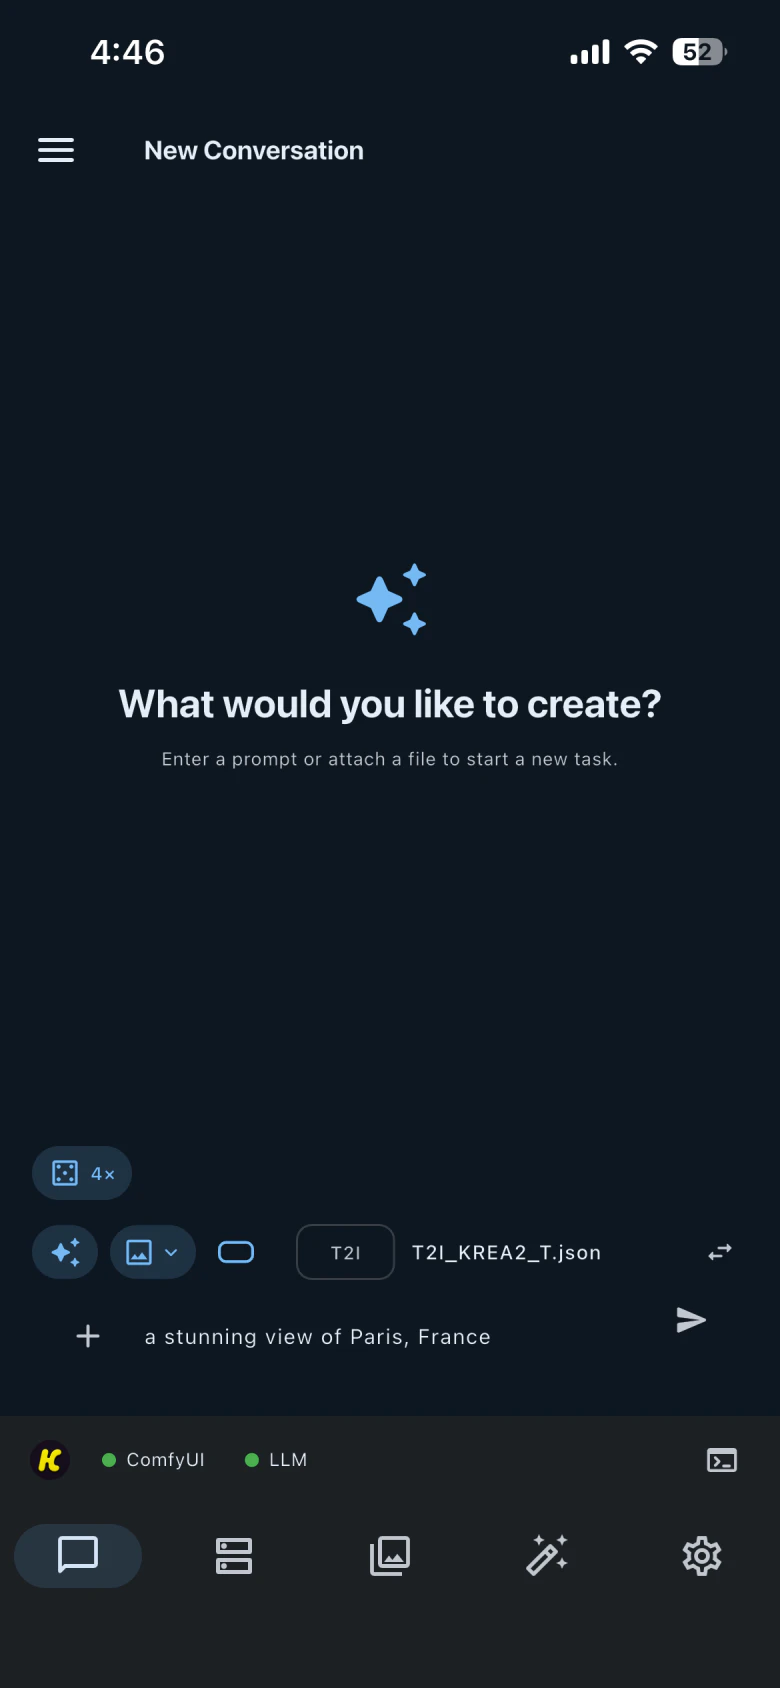
- Open the Chat tab.
- Enter a short text prompt. For example:
A stunning view of Paris, France
The selected T2I workflow remains responsible for the generation. You do not need to return to the ComfyUI desktop interface.
Chat · prompt input
6. Generate the image
Submit the prompt using the send control beside the Chat input.
HandyComfy sends the configured T2I workflow to your connected ComfyUI server. ComfyUI runs the workflow and returns the completed image to HandyComfy.
When the image appears in Chat, you have completed your first generation.
Chat · completed generation

Common problems
The ComfyUI indicator is not green
Return to Settings and verify the server address, network connection, ComfyUI --listen setting, and firewall access. Do not try to generate until the connection is active.
A required model is not available
The model must be installed in the connected ComfyUI environment before HandyComfy can select it. See Models for selection, refresh, and missing-model guidance.