
HandyComfy turns selected ComfyUI nodes and widgets into focused mobile controls. Use Workflow App Builder to review the automatic mapping, correct node roles, and decide which workflow values you need to control.
When you save the configuration, HandyComfy uses it for that workflow in both the Workflow tab and Chat.
Open Workflow App Builder
From the Workflow tab:
- Open the workflow you want to configure.
- Select the graph icon in the upper-right corner.
You can reach the same screen from Workflow Management:
Workflow Management→All→Select a workflow→Graph icon
Selecting a workflow in Workflow Management opens the same workflow screen used in the Workflow tab.
Workflow App Builder · function mapping
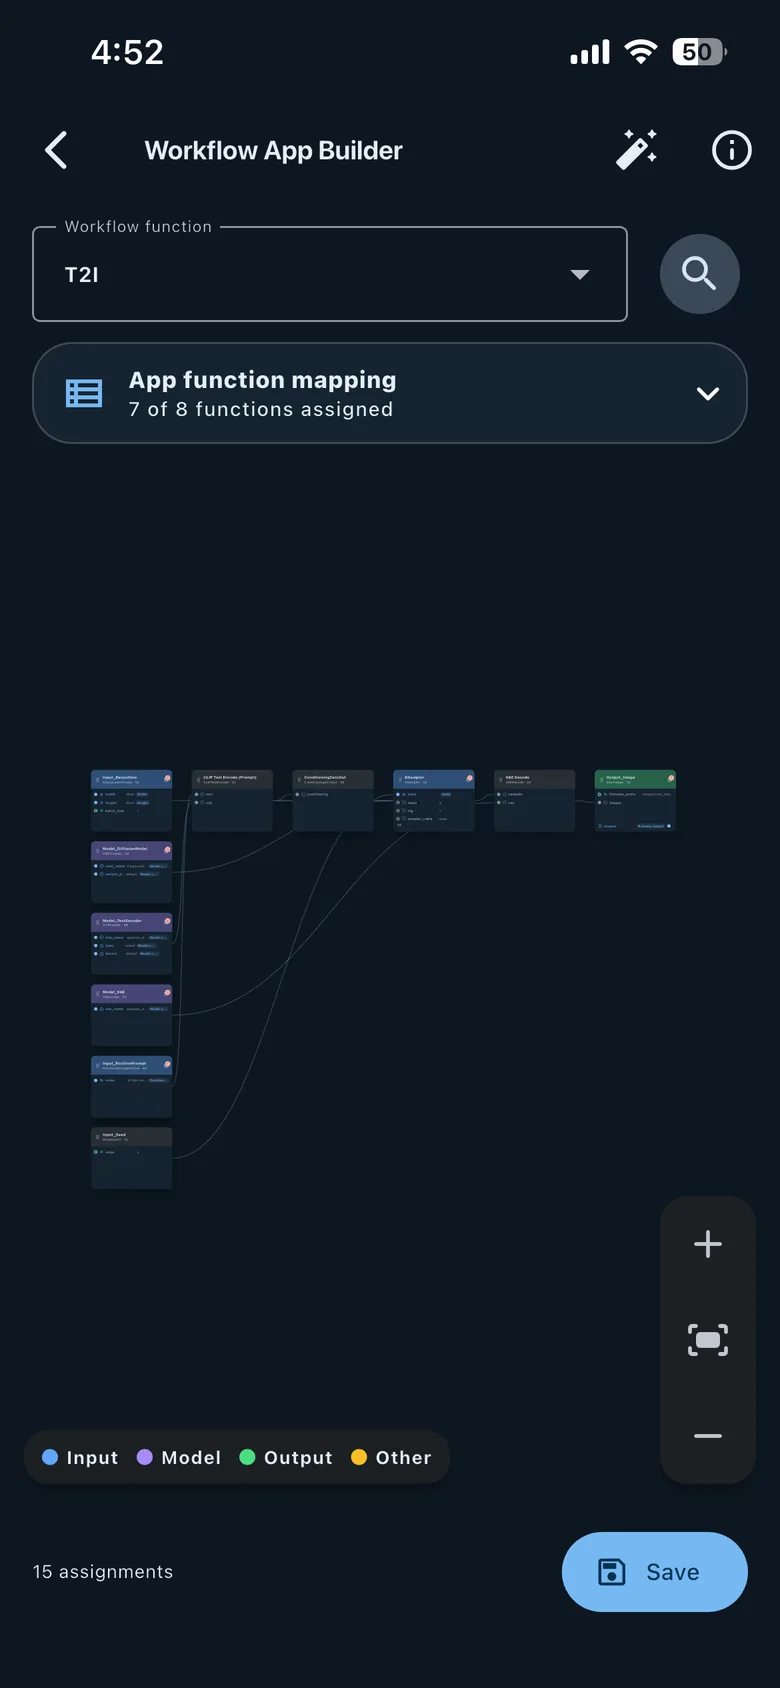
Review and correct node roles
HandyComfy attempts to map app functions automatically when you import a workflow. Workflow App Builder shows the result and reports how many functions are assigned.
To correct the mapping:
- Select a node in the workflow graph.
- Choose the app role that node should perform.
- Repeat for any missing or incorrect roles.
- Select Save when the mapping is ready.
You can move an automatically assigned role to another node or remove its assignment. This is useful when automatic analysis did not identify a custom node correctly.
For more reliable automatic mapping, name relevant nodes before export using the HandyComfy Node Naming Convention.
Understand the Input controls
Mapped Input roles become purpose-built controls instead of raw graph widgets.
| Mapping | Control in HandyComfy |
|---|---|
Input_PositivePrompt |
Prompt field |
Input_Width and Input_Height |
One Resolution selector |
Input_Seed |
Seed control |
Input_Duration |
Duration control for a video workflow |
Input_Audio |
Audio attachment when supported |
Input_Ref_01, Input_Ref_02, and later references |
Ordered reference attachments when supported |
Workflow Settings · Input
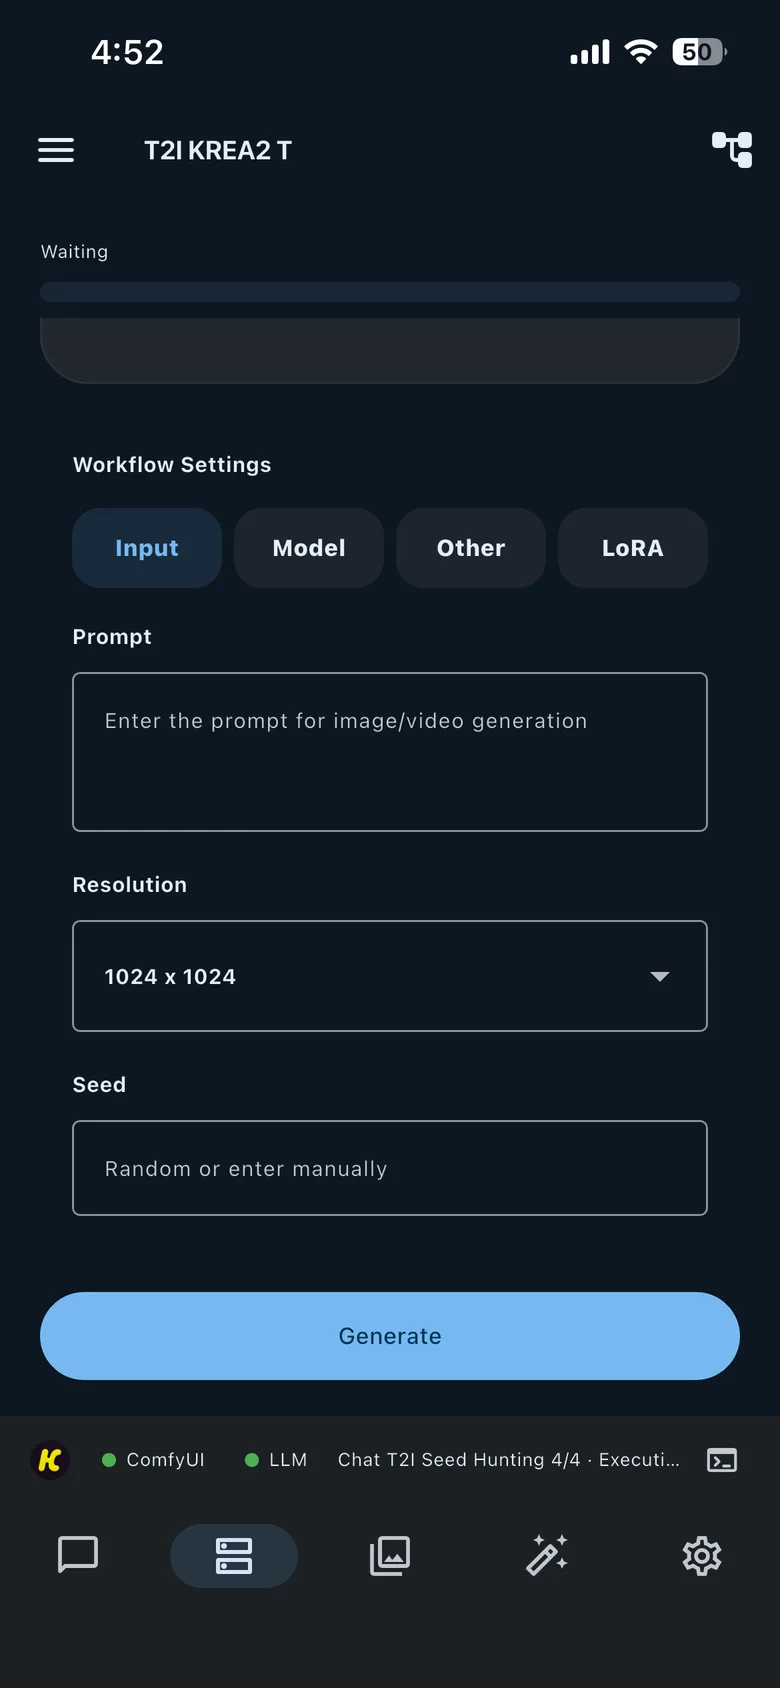
Resolution
HandyComfy combines mapped Width and Height roles into one Resolution selector. You can choose a saved preset or specify a custom resolution.
Manage the preset list at:
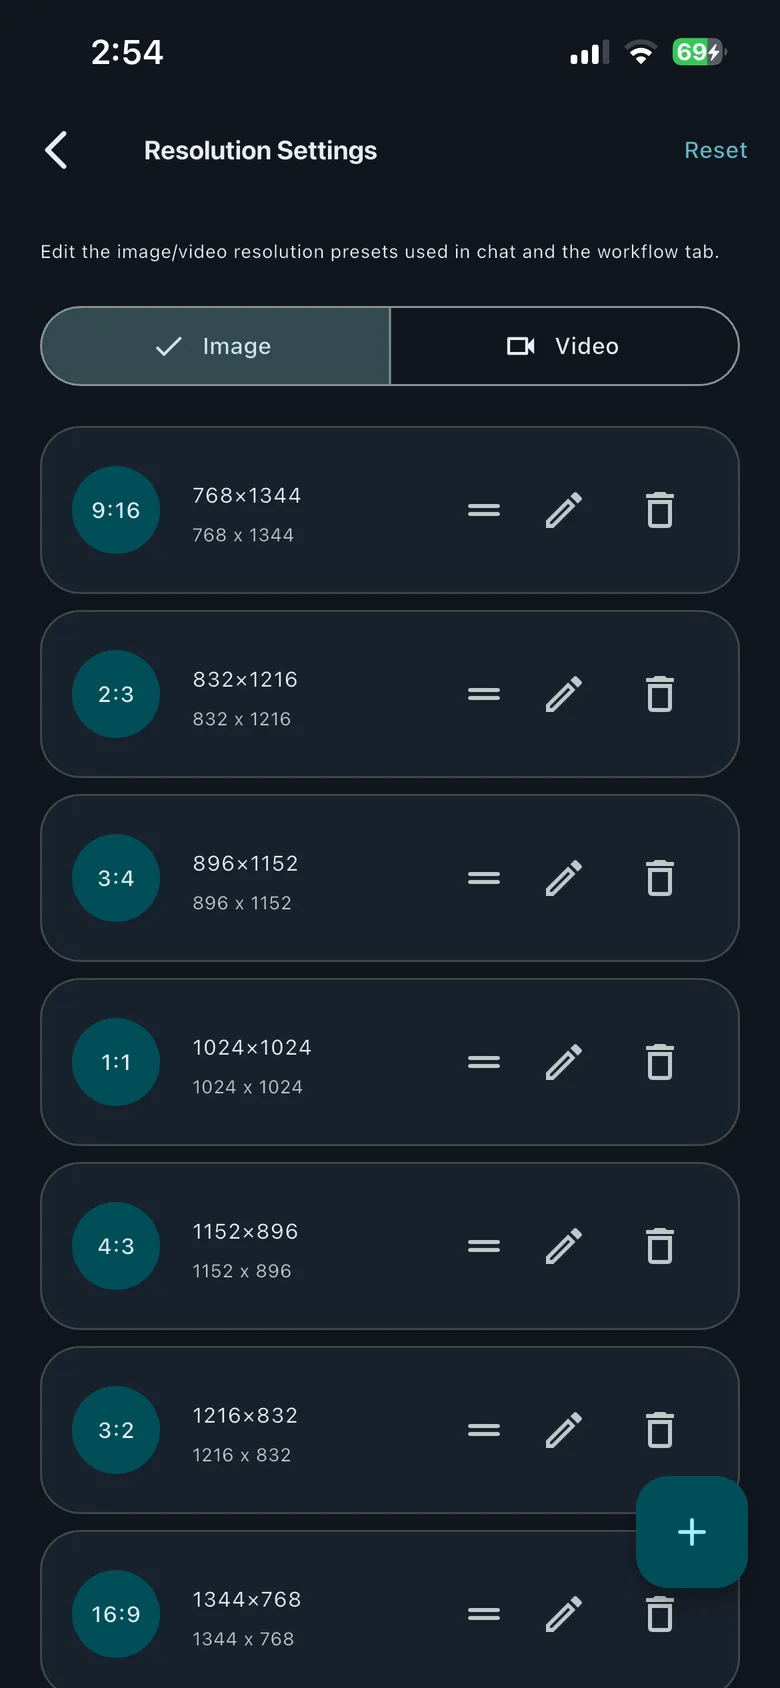
Settings→System Settings→Resolution Settings
Resolution Settings keeps separate preset lists for image and video workflows.
System Settings · Resolution Settings
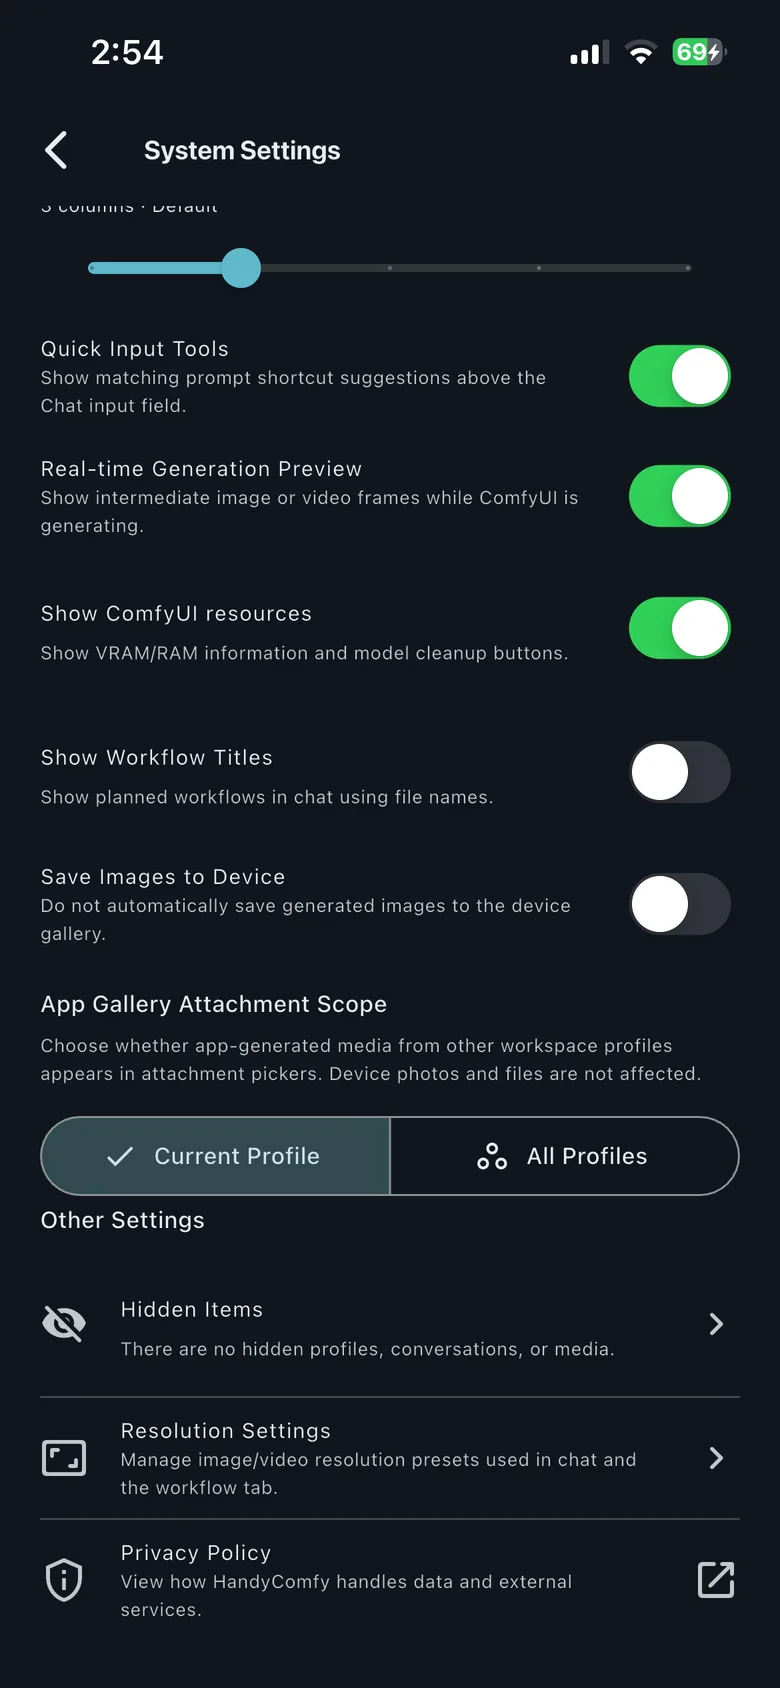
Resolution Settings · Image presets
Seed and media inputs
Leave Seed blank or select Random to use a new seed for every run. Enter a specific seed only when you want to repeat that seed.
Duration is used for video workflows. Audio and reference-image mappings appear as attachment controls when the workflow’s feature supports those inputs.
Choose models from the connected server
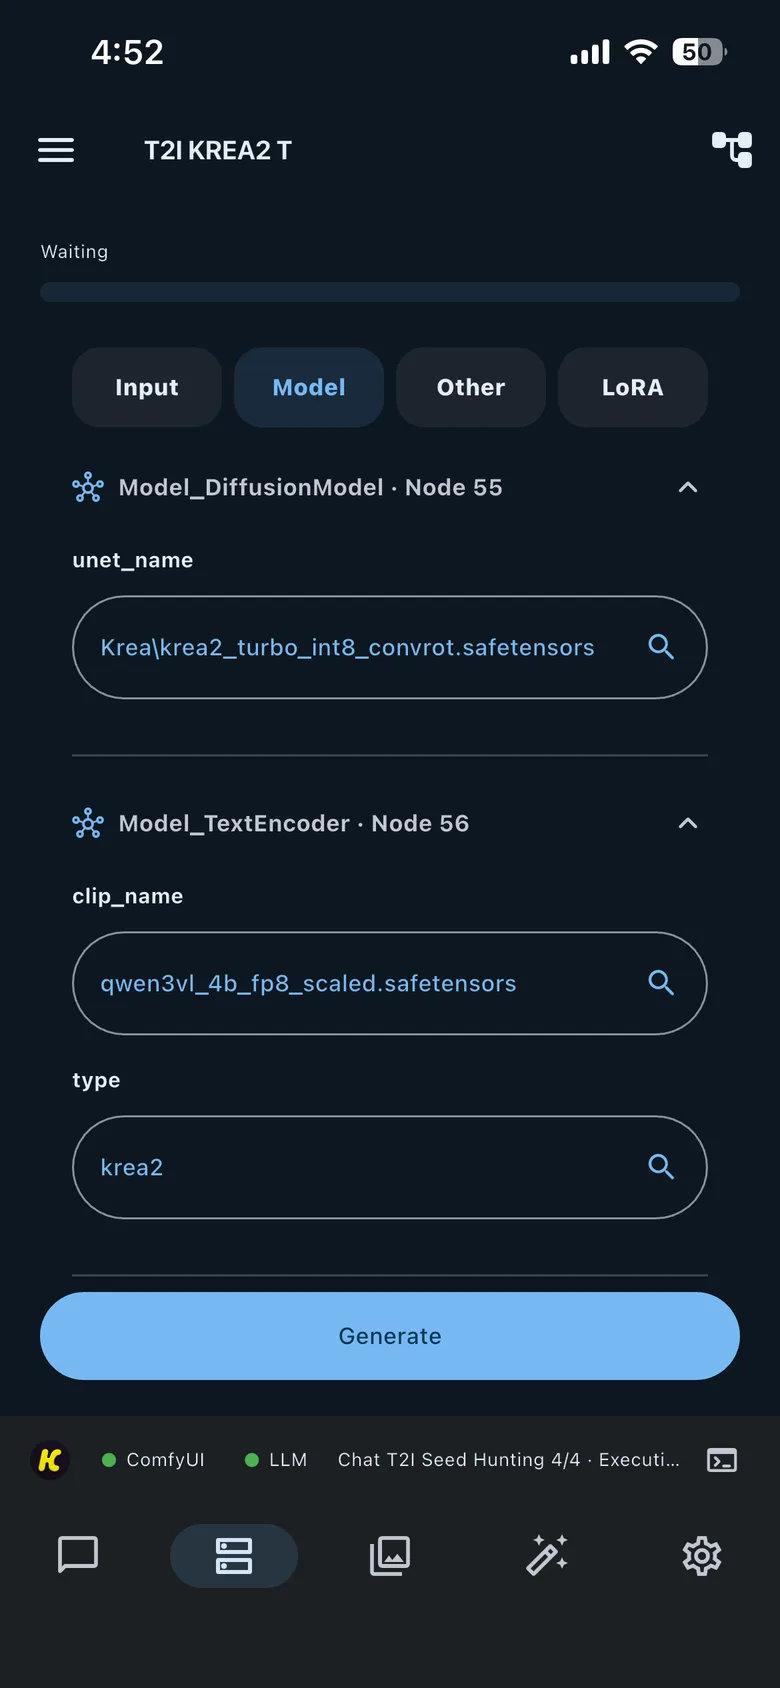
The Model tab shows mapped model nodes. Its choices are read live from the connected ComfyUI server.
If a model node exposes several widgets, you can change each one. For example, one text-encoder node may provide both clip_name and type.
Workflow Settings · Model
Expose additional controls in Other
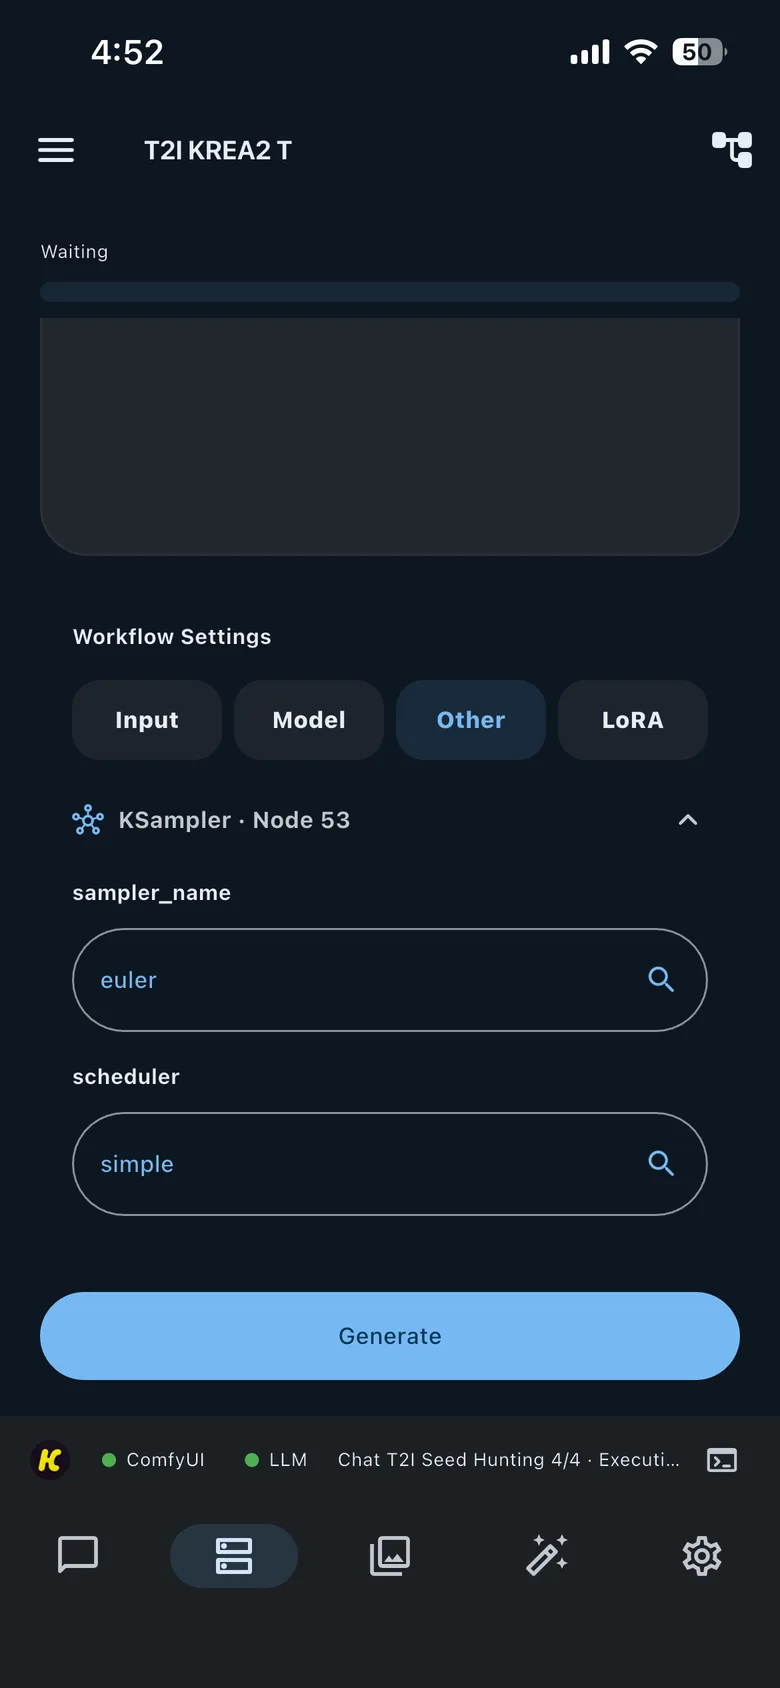
The Other tab contains editable widgets that do not use a dedicated Input or Model role. A KSampler node, for example, can expose sampler_name and scheduler.
You can select additional nodes in the workflow graph when you want their widgets to appear in Other.
Workflow Settings · Other
Add LoRAs at the app level
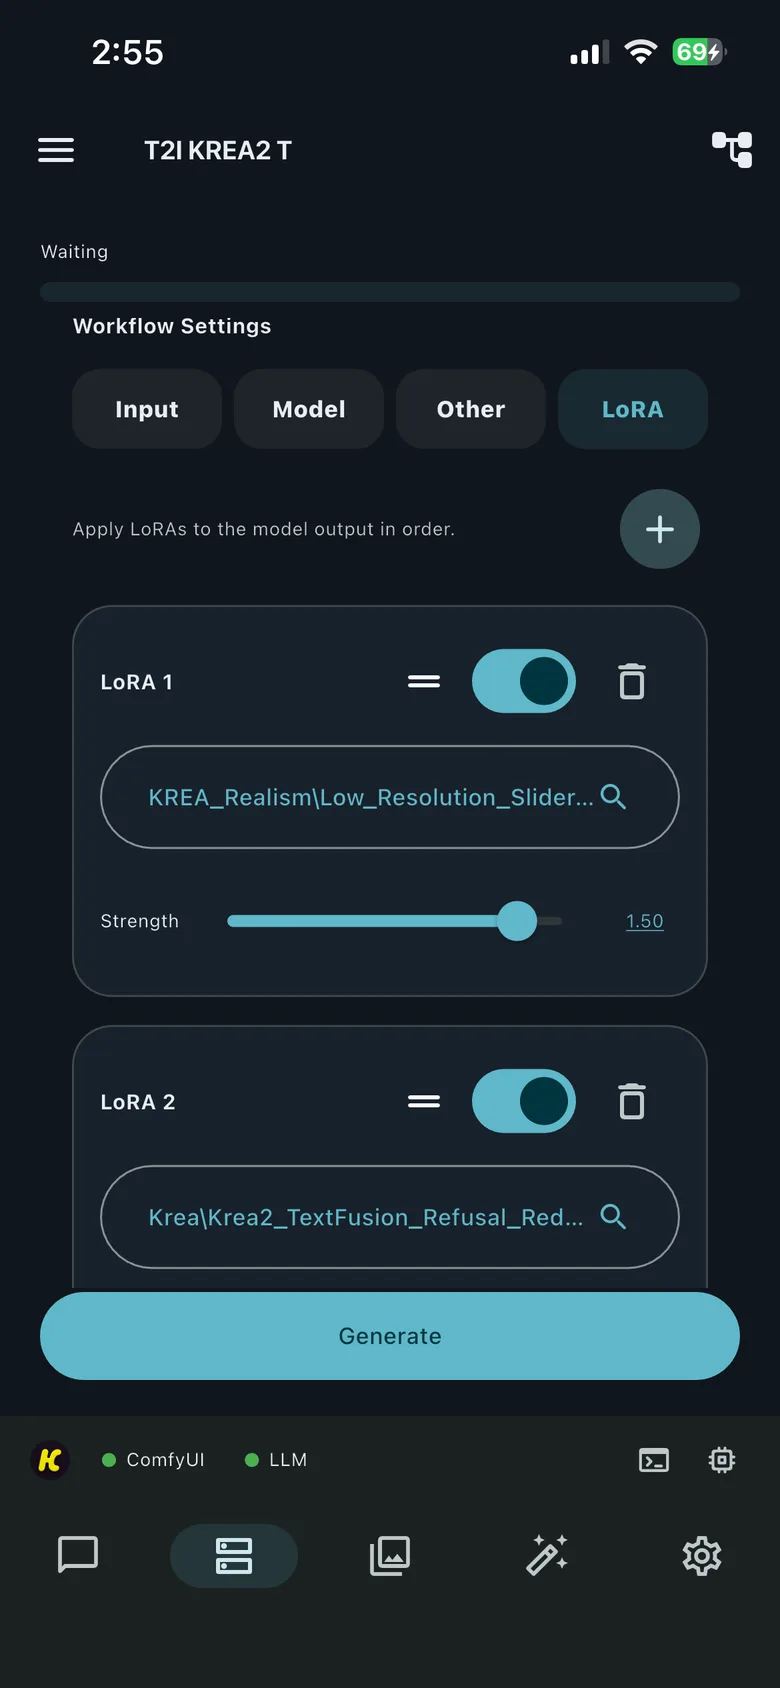
The LoRA tab is an app-level convenience. You can add a LoRA even when the original workflow does not contain a Load LoRA node.
HandyComfy reads the available LoRA models from the connected ComfyUI server and lets you select them for the workflow.
Workflow Settings · LoRA
Map the generated output
An output mapping such as Output_Image tells HandyComfy how to deliver the generated result to the Result Image/Video Area at the top of the workflow screen and onward to Gallery or Chat.
Review the output assignment before saving, particularly when the imported graph contains several potential output nodes.
Save and verify
Select Save in Workflow App Builder. The role mapping and exposed-control configuration are stored for that workflow and reused in the Workflow tab and Chat.
Return to the workflow screen and verify the available sections:
- Input for prompts, resolution, seed, duration, and supported attachments
- Model for mapped model widgets
- Other for additional exposed widgets
- LoRA for app-level LoRA models
Choose the required values and run the workflow. If a control is missing or mapped to the wrong node, return to Workflow App Builder and correct the assignment.